
Windows Updates are some of the most important updates you can run – and it can be painful when your computer automatically restarts to install updates while you’re working. But – what if you could change your settings so your updates run while you’re sleeping?
Change Your Sleep Settings
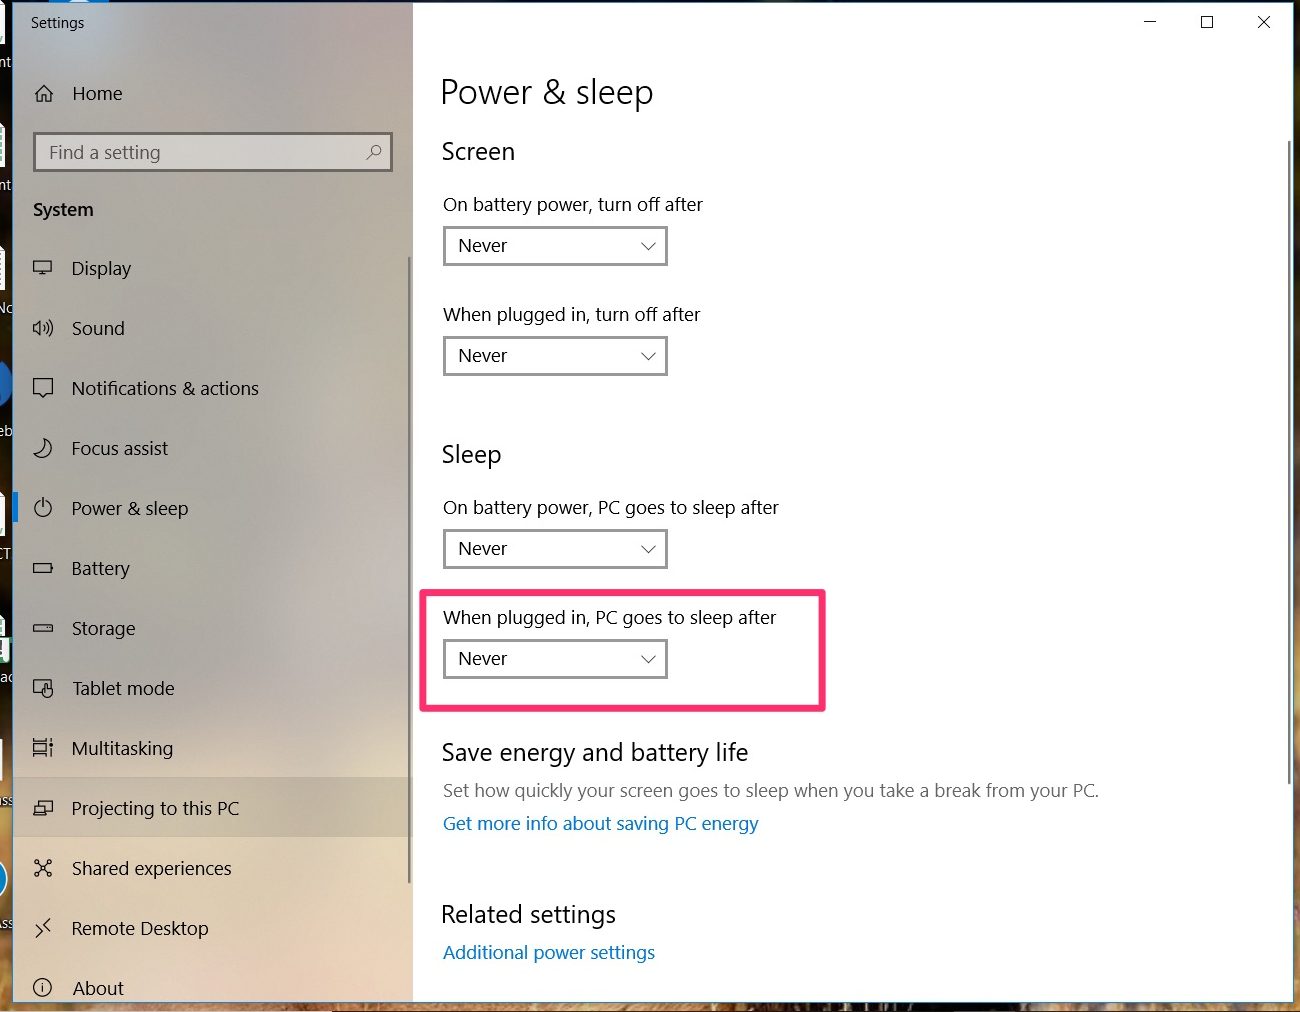
Your sleep settings determine when your computer chooses to stay on or go on standby. These are usually set to make sure you don’t waste battery if you’re not around, but if your computer is plugged in, your computer can stay on all night.
1. Click the Start button in the bottom left corner of the screen.
2. Type sleep and select Power & Sleep Settings.
3. Click the drop-down sleep list to configure the settings to:
When plugged in, PC goes to sleep: Never
4. Close the window.
Change Your Active Hours
Now that you’ve changed your sleep settings, let’s schedule your updates using Active Hours. In Windows 10, Microsoft automatically downloads your updates and restarts your computer to install them, but with Active Hours, you can automatically set the times you do NOT want it to update.
1 . Click the Start Button, search for settings and open the Settings app. Select Update & security > Windows Updates.
2. Click Active Hours at the bottom of the Windows Update screen.
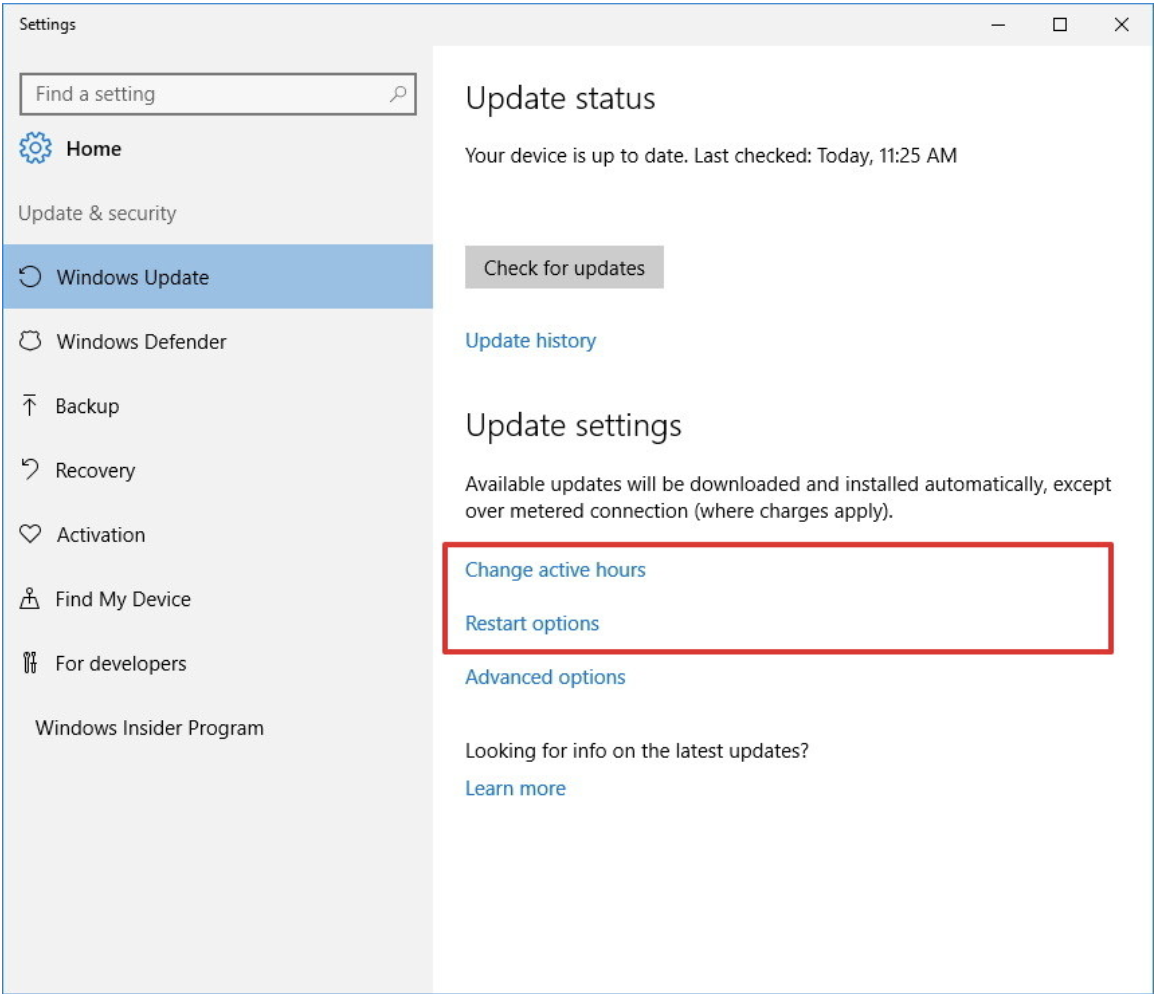
Make sure to choose hours that you will be using your computer and do not want the updates to be installed. Pretty easy, right?!
Windows Pro & Enterprise
Unfortunately if your Windows runs Pro or Enterprise, you can only pause the updates for a period of time. We don’t recommend doing this, unless you plan on manually running the updates later. You can read more about this here.